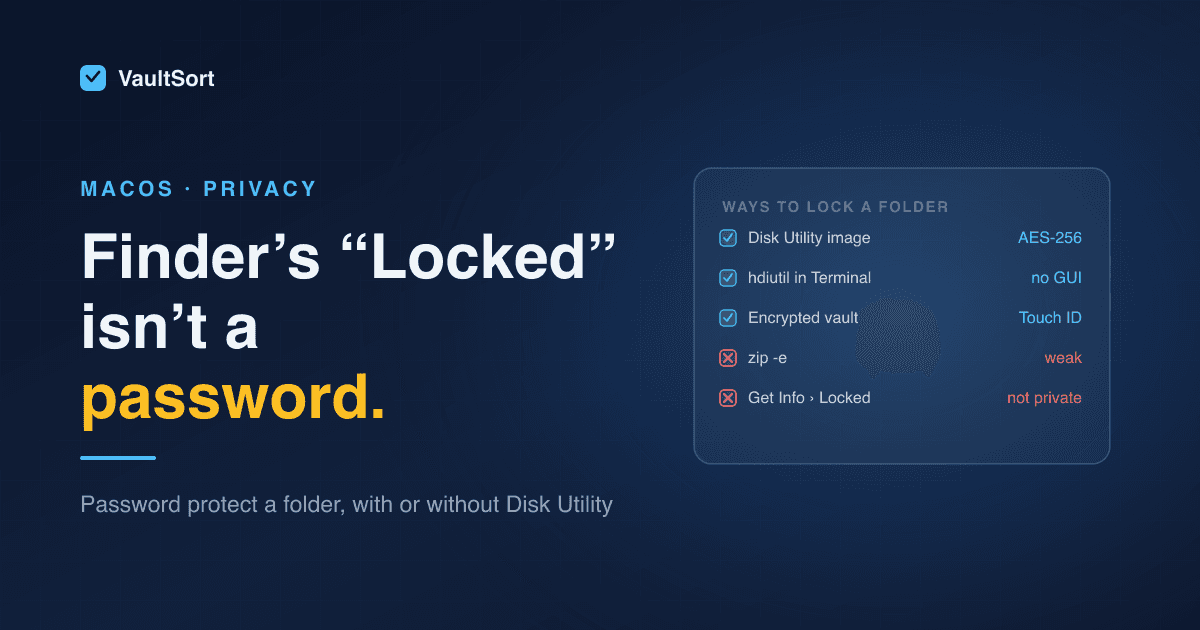
Finder has a Locked checkbox in Get Info, so it's natural to assume it locks the folder. It doesn't. It stops the folder being changed or deleted, but anyone at your Mac can still open it and read everything inside.
macOS has no built-in "password protect this folder" switch. What it does have is encrypted disk images, which do the job well once you know how they work. Here are your options, from built-in to most convenient.
What FileVault Does and Doesn't Cover
If FileVault is on (System Settings → Privacy & Security), your whole disk is encrypted, and a stolen, powered-off Mac gives nothing away. Keep it on.
But FileVault protects the disk, not a folder. Once you've logged in, every folder is open to anyone who sits down at your Mac, and to every app you run. Password-protecting a folder is about that second situation.
1. Disk Utility: An Encrypted Image of the Folder
This is Apple's own answer, and it's solid AES encryption.
- Open Disk Utility (Applications → Utilities).
- Choose File → New Image → Image from Folder… and select the folder.
- Set Encryption to 256-bit AES and enter a password.
- Set Image Format to read/write if you want to add or edit files later. "Compressed" and "read-only" images can't be changed after they're made.
- Save it, then double-click the new
.dmgto check the password works. - Delete the original folder. Until you do, the unprotected copy is still sitting there.
To open it later, double-click the .dmg, enter the password, and it mounts like a drive in Finder. Eject it when you're done. Leave "Remember password in my keychain" unticked, or anyone logged in as you can open it without the password.
Tip: for a folder that will keep growing, make a blank one instead: File → New Image → Blank Image, with encryption on and Image Format set to sparse bundle disk image. It starts small and expands as you add files.
2. Without Disk Utility: One Terminal Command
If Disk Utility won't cooperate, or you'd rather script it, the same encrypted image can be made from Terminal with hdiutil, the tool Disk Utility uses behind the scenes:
hdiutil create -srcfolder ~/Documents/Private -encryption AES-256 -format UDRW -volname Private ~/Documents/Private.dmg
It asks you to choose a password, then writes Private.dmg next to the folder. -format UDRW makes it read/write; leave it out and you get a compressed, read-only image. Open it with open ~/Documents/Private.dmg or by double-clicking, as above.
3. A Password-Protected Zip (Quick, but Weak)
Terminal can also make a zip with a password:
zip -er Private.zip Private
It's convenient for sending something to someone, and any Mac or PC can open it. But the standard zip encryption this uses is old and weak: it can be broken with readily available tools. Fine for keeping a casual glance out; not for anything that actually matters. For a strong encrypted archive, use a disk image (above) or an app that supports AES-256 zip or 7z.
4. Locked Notes (for Text, Not Files)
If what you're protecting is text, like account details or a recovery phrase, Apple Notes can lock individual notes with your login password or Touch ID. It doesn't help with files and folders.
5. An Encrypted Vault That Opens with Touch ID
Disk images work, but in daily use they have friction. You mount, enter the password, work, and remember to eject. Most people forget the last step, which leaves the folder open for the rest of the day.
The Vault in VaultSort is an encrypted place on your own disk for files, folders and notes, built for daily use:
- Opens the way you choose: your password, Touch ID (macOS 14 Sonoma or later), or a security key like a YubiKey. You can set up more than one, and any one opens it.
- Locks itself when your Mac sleeps, the screen locks, or it's been idle.
- Every file gets its own AES-256-GCM key. Nothing is uploaded and there's no account.
- Your files never depend on the licence. A licence is needed to create a Vault and add to it; opening, reading and exporting never need one.
For individual files rather than a folder, VaultSort can also encrypt files with Touch ID or a YubiKey.
Don't Forget the Originals
Every method that copies a folder into something encrypted leaves the original behind until you delete it. And on a Mac, deleting a file and emptying the Trash doesn't erase the data straight away. On an SSD with FileVault on, the leftover data is encrypted at rest, which is one more reason to keep FileVault enabled. For files that matter, see secure file deletion on Mac.
Which Method Should You Use?
- Occasional access, built-in tools only: a Disk Utility image (read/write or sparse bundle).
- No Disk Utility, or scripting it:
hdiutil create -encryption AES-256. - Sending a folder to someone: an AES-256 archive, with the password shared separately; not a standard
zip -e. - Files you open every day: a vault that re-locks itself, so the protection doesn't depend on remembering to eject.
Whichever you choose, keep a way back in somewhere other than the Mac itself. A forgotten password on a well-encrypted image is meant to be unrecoverable.
VaultSort runs on Mac (Apple silicon) and Windows. Download it here. On Windows instead? See how to password protect a folder in Windows 11.